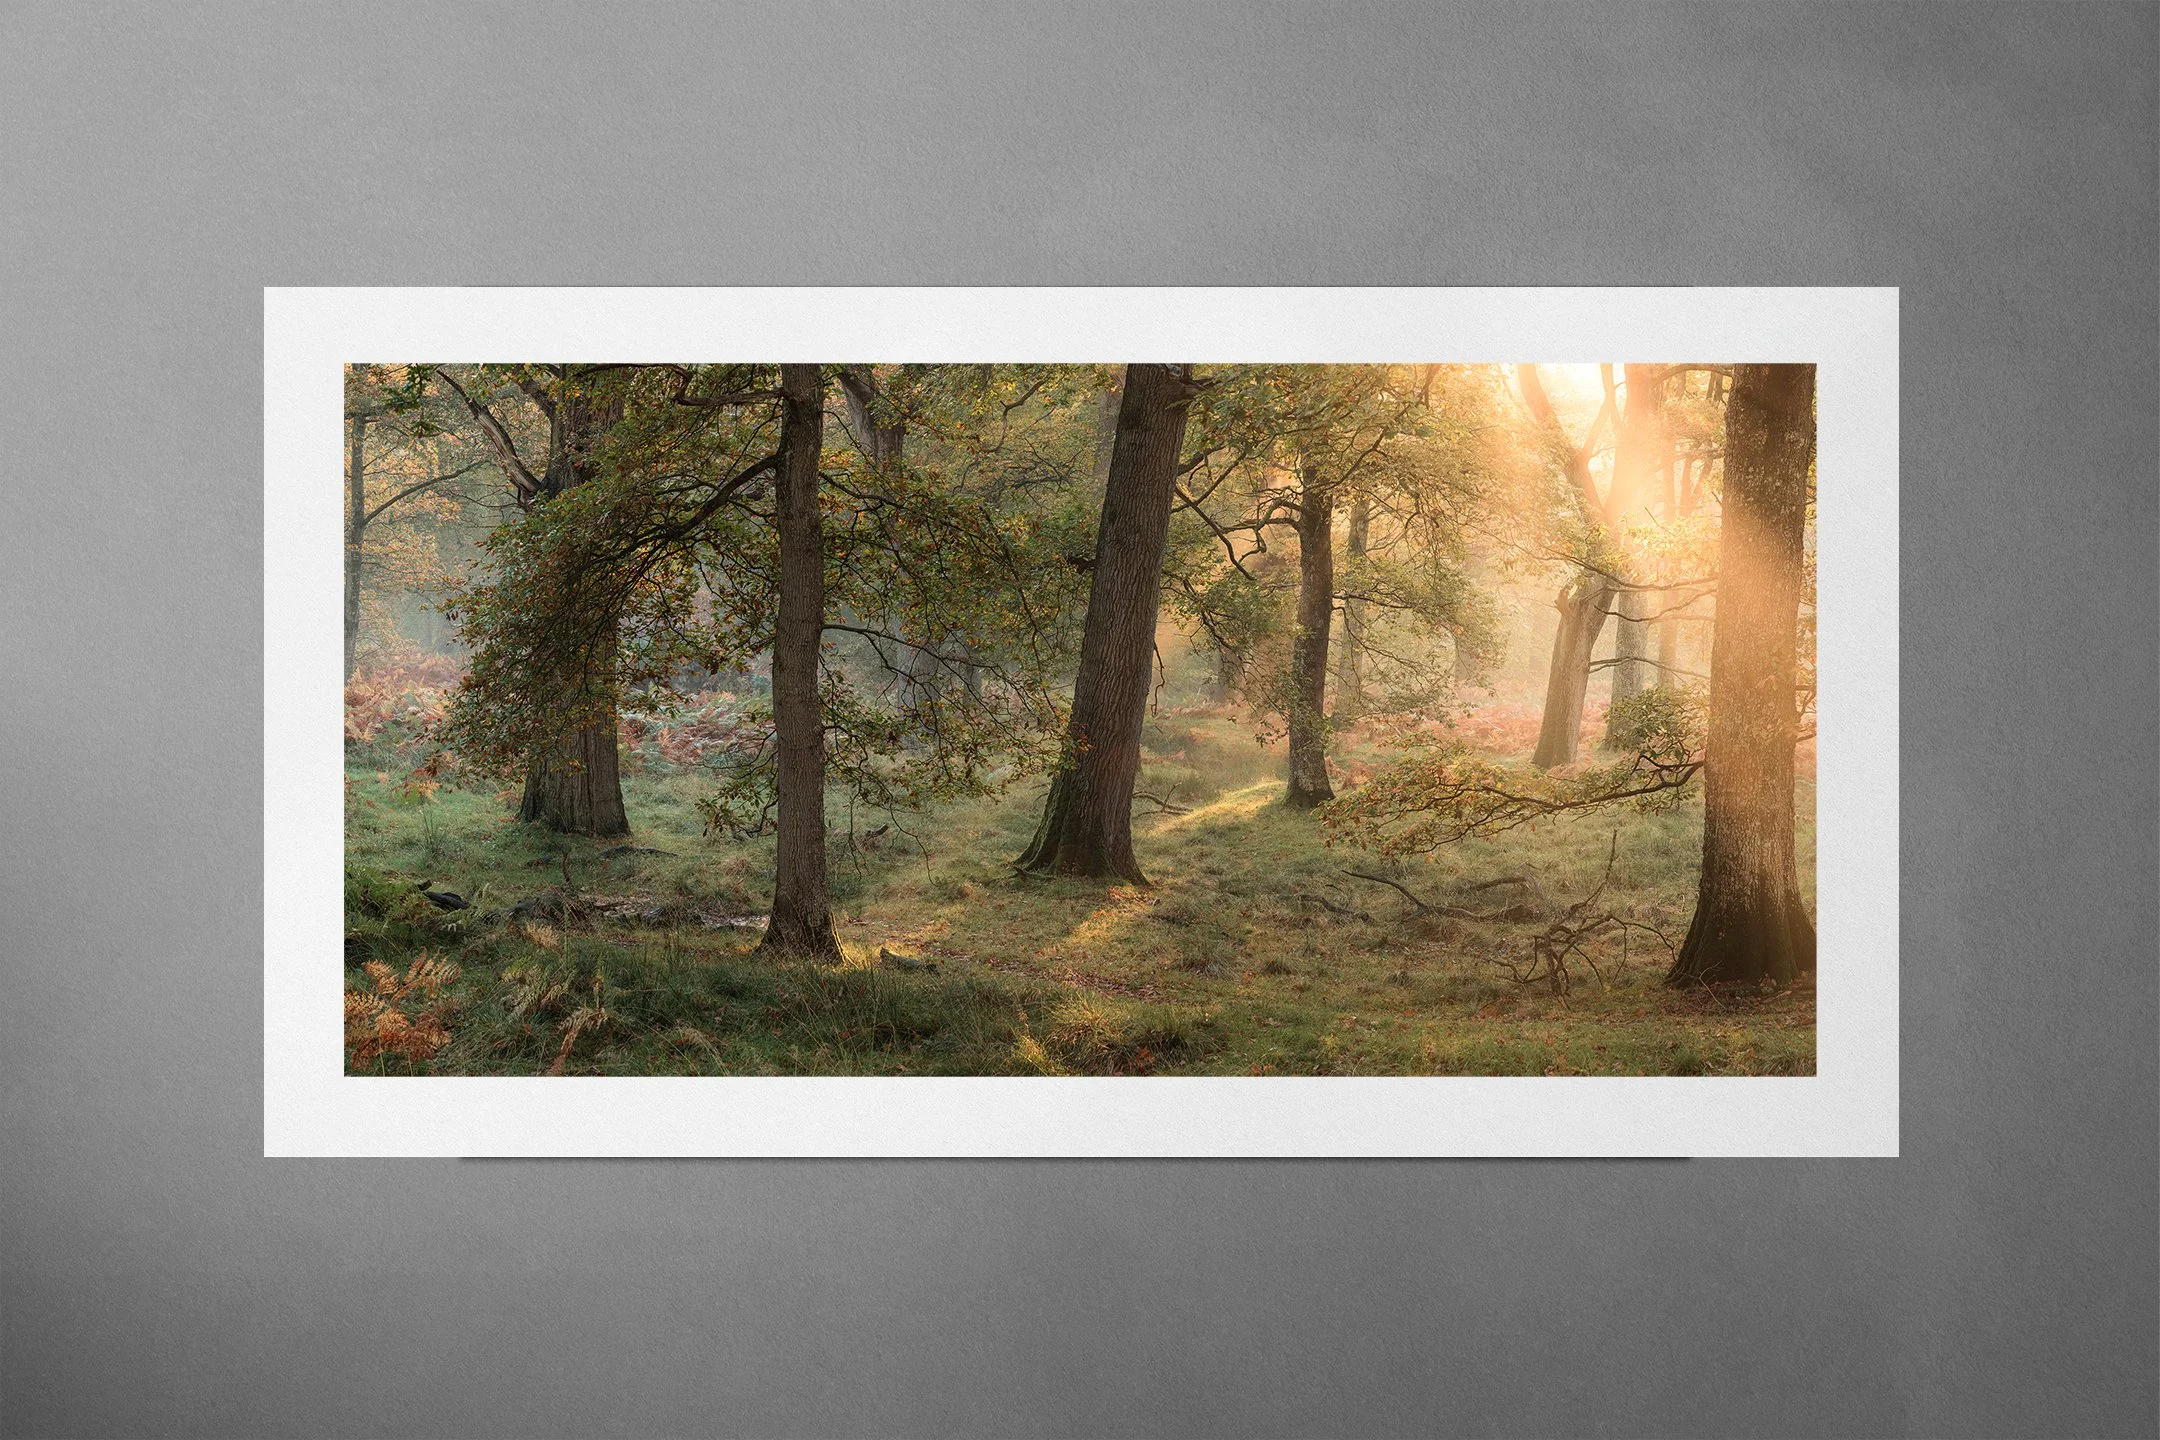
Sshh. I’m going to let you into a little secret. Don’t tell anybody, ok? This one small Adobe Lightroom editing trick that I’m about to share with you will literally transform your landscape photography. If you’re a beginner photographer, then I recommend that you give this trick a go today to impress anyone that might be looking at your photographs.
If you’re the type of person that spends hours scouring the Internet to look at landscape photography, then you are probably familiar with the term ‘dodging and burning’. This is a trick that photographers have been using for decades to give their photographs that extra little kick when being viewed by an audience. The late, great Ansel Adams made this technique famous in the days of film photography, when he would spend hours in the darkroom, applying physical ‘dodging and burning’ to his negatives.
What is ‘dodging and burning’?
Ok, so you don’t actually know what the term ‘dodging and burning’ means? Well, to put it in the simplest of terms, it is the act of lightening certain parts of a photograph and darkening others. It is a great tool that can be used to create some very high contrast, dramatic images, or to bring emphasis to certain subjects within a photograph.
The best part about this is that, compared to poor Ansel Adams who had to spend hours, if not days, locked inside of his darkroom, we now have the ability to dodge and burn a photograph within minutes, or even seconds once you are up to speed. In most of my own favourite landscape photographs over the past couple of years, I have used the same dodging and burning technique that I am about to share with you all.
Why should you dodge & burn?
There are many reasons as to why you should dodge or burn a photograph. The main reason for me, as stated above, is to add shape, dimension and contrast in an otherwise flat and perhaps, lifeless photograph. In certain instances, dodging and burning subjects in the foreground can help you to direct a viewers eye to a certain place, and create a journey through your photograph. In the photograph at the top of the screen, you can see that I have added a dodge and burn effect to the rocks in the foreground, because I feel as though they are of particular interest within the scene; I want those to grab a viewers attention. This technique is particularly effective when you photograph using lateral light during sunrise or sunset. This is when you end up with areas of light and shadow, which can be emphasised using the dodge and burn tool described down below.
HOW DO YOU DODGE AND BURN PHOTOGRAPHS IN LIGHTROOM?
Introductions now aside, this is what you have all been waiting for. The one trick that is going to transform your photography and allow you to wow your audiences with mind-blowing photographs.
Lightroom Adjustment Brush Tool
Please note: I recently reverted back to an older version of Lightroom because of a catalog problem. I’ll upload a newer version of this blog for more recent versions of Lightroom once I manage to fix my issue.
Select the adjustment brush tool and set the exposure slider to around the 0.50 mark, this can be adjusted depending on the level of ‘dodge’ or ‘burn’ that you wish to apply to an area. For ‘burning’ photographs, you’ll want to move this slider into the minuses. As a general rule of thumb, I tend not to go over 1.00 either way because things start to look a little bit too extreme in my opinion. You should experiment and decide on your own formula to suit your style of landscape photography.
It’s also important that you adjust the ‘size’, ‘feather’, ‘flow’ and ‘density’ fields so that you get a lovely soft, gradual transition between your dodge and burn. The size will change depending on the area of the photograph that you want to dodge or burn. The other fields, however, should be adjusted to the following:
Feather: 100
Flow & Density: ~65
Again, you can experiment with these to see the different results that they produce. A stronger flow & density field will produce more extreme results and using a lighter feather will create a harsher transition between areas.
Once you have adjusted the brush to suit your requirements, you can proceed to paint in the areas that you wish to dodge or burn.
For extra fine tuning: Adjust the ‘range mask’ section to ‘luminance’ and increase the range slider to around the 60 mark. This will need to be adjusted to your own requirements. As you can see in the before vs after below, by adding the range mask this will ensure that the brush only applies to the lighter pixels. When applying the ‘burning’ to your photograph, this range mask will need to be flipped; the left slider will be moved all the way to the left of the bar and the right slider will be set to around the 40 mark.
Click to enlarge the images below.
Yep, that really is all there is to it. That is all bases covered; what is dodging and burning? Why use dodging and burning? And a simple and easy guide covering how to dodge and burn your landscape photographs in Adobe Lightroom. I was very surprised myself when I discovered just how easy it is to dodge and burn photographs within the editing software. Now, there is barely a day that goes by where I don’t use this trick in some way within my own photos. It really is amazing what can be achieved using this very quick, easy and simple Lightroom editing technique. Now it’s up to you to go away and see exactly what you have been missing out on this whole time. Have fun!
Brad